
It wasn't hard, just time consuming. I started by buying a piece of 3/4 inch thick subfloor/plywood at Lowe's. I was feeling lazy so I asked them to cut it to size for me, which they did at no extra charge. The size of the plywood part is 53 inches x 3 feet tall. With the legs on the bottom, the total height is 4 feet. I bought 3 - 1 x 3's to attach to the back of the plywood as shown in the photo below.

Next, I laid high loft quilt batting on the floor that I bought at the craft store and placed the headboard on top. I bought the largest size and then folded it over 3 times, so it would be pretty thick.

Without pulling too tightly, I pulled the batting around and began to staple it to the back of the headboard. You don't want to pull it too tightly or it might come apart.

I continued this all the way around the frame. Corners are a little bulky and tricky, but here's a closeup of mine. Not perfect, but doesn't need to be.

To get rid of the excess batting at the legs of the headboard....

I simply cut about an inch off the batting, tucked it under and stapled it behind the headboard.

When the batting is all attached, it will look like this.

Next up, is the fabric. Because I was keeping cost down, I used canvas painters drop cloth that I already had. I basically repeated what I just did with the batting.

Take extra care when working on the corners so you don't have a wrinkly mess since the corners will show. I found that folding it over like you would wrap a Christmas present worked well. And I also worked on the corners last. I then cut off all the extra batting and fabric.

And here's the front...

I really wanted nailhead trim, however, I couldn't find that where I live so I used bronze upholstery tacks that I picked up at Lowes. Very time consuming but I definitely got the look I wanted. I was actually happy I couldn't find the trim because I really preferred the nail heads being spaced a bit instead of touching.
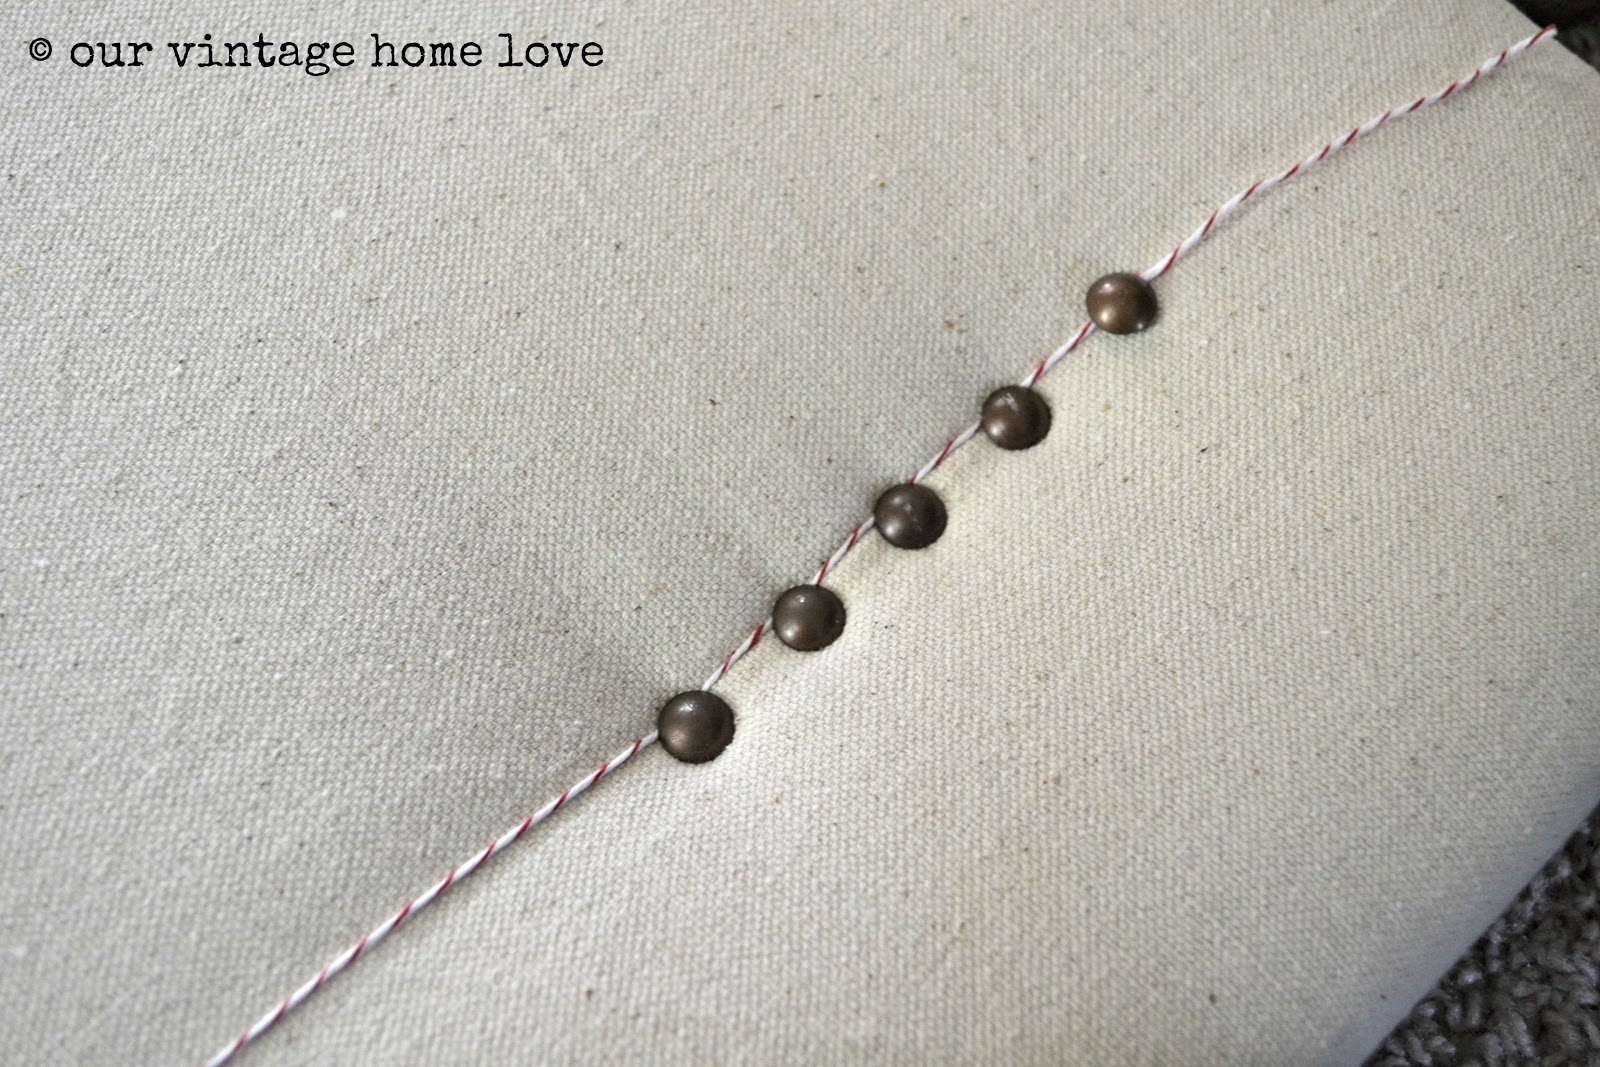
To perfectly line them up, I measured inside the corner 4 inches on both sides and marked with a pen, then gently tapped in one tack, but I did not hammer it in all the way in. I looped a piece of twine around the tack, then did the same thing on the other end and tied the other end of the twine to that tack. This created a perfectly straight guideline for me to line up the tacks. When you're finished, remove the twine and hammer in the end tacks the rest of the way.
It took all afternoon, but I am soooo happy with it! I can't wait to put it in his room.
I've got a couple more projects to do for the space and then I will put the whole room together and blog about it next week. I can't wait to get this finished up for him!
Have a great weekend!
0 comments:
Post a Comment